Getting Started with DevTools
This guide will help you install DevTools and create your first API test in minutes.
Installation
DevTools is available in two formats: Studio Application and CLI Tool. You can download DevTools Studio for macOS, Windows, or Linux.
Studio Application
Download the Studio app for your platform from the releases page (opens in a new tab):
macOS:
# Download the .dmg file
DevTools-{version}-darwin-{arch}.dmg

# Open and drag to Applications folder
Windows:
# Download and run the installer
DevTools-{version}-win32-{arch}.exe
Linux:
# Download the AppImage
DevTools-{version}-linux-{arch}.AppImage

# Make it executable and run
chmod +x DevTools-{version}-linux-{arch}.AppImage
./DevTools-{version}-linux-{arch}.AppImage
CLI Tool
The CLI is perfect for CI/CD pipelines and headless automation.
Quick Install (macOS/Linux):
curl -fsSL https://sh.dev.tools/install.sh | bashWith wget:
wget -qO- https://sh.dev.tools/install.sh | bashCustom Install Directory:
INSTALL_DIR=/opt/devtools curl -fsSL https://sh.dev.tools/install.sh | bashManual Installation:
Download the binary for your platform from the releases page (opens in a new tab) and add it to your PATH.
Verify Installation:
devtools version
# Output: DevToolsCLI v0.5.1
Your First Workspace
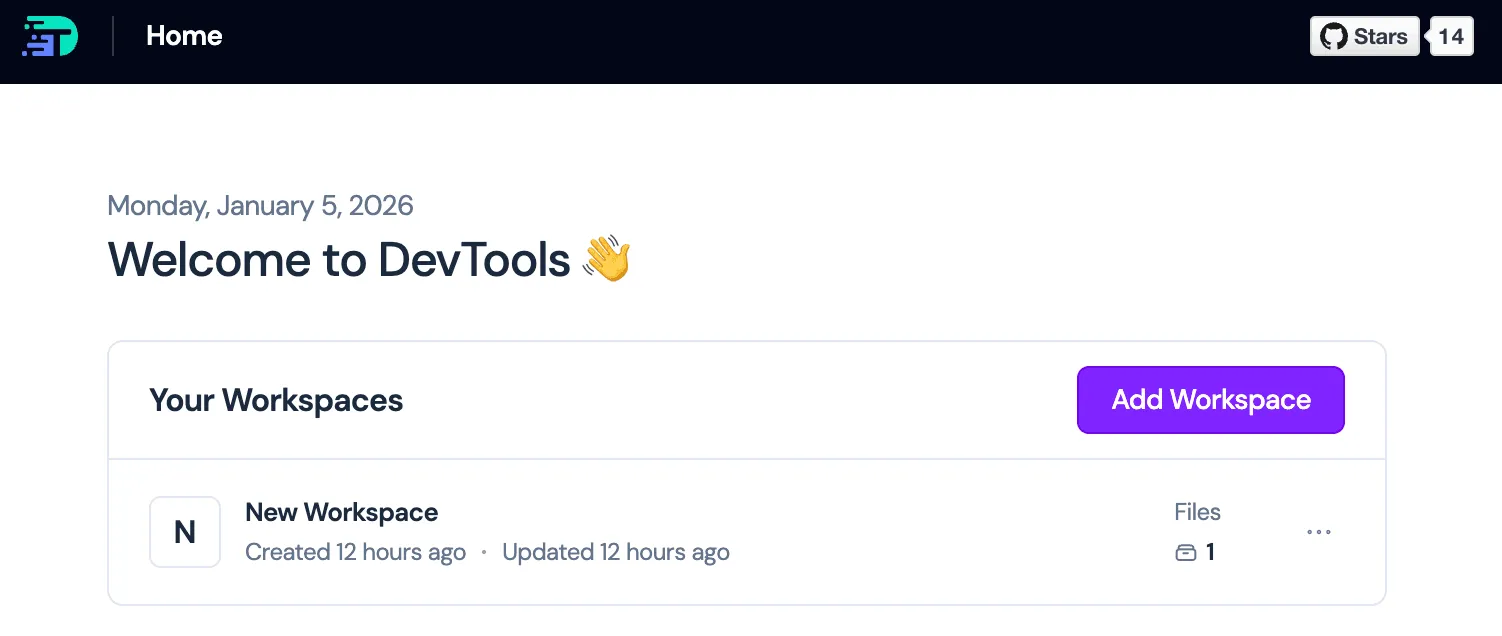
1. Create a Workspace
When you first open DevTools Studio:
- Click "New Workspace"
- Give it a name (e.g., "My API Tests")
- Click Create
Your workspace is now ready to organize your API requests and flows.
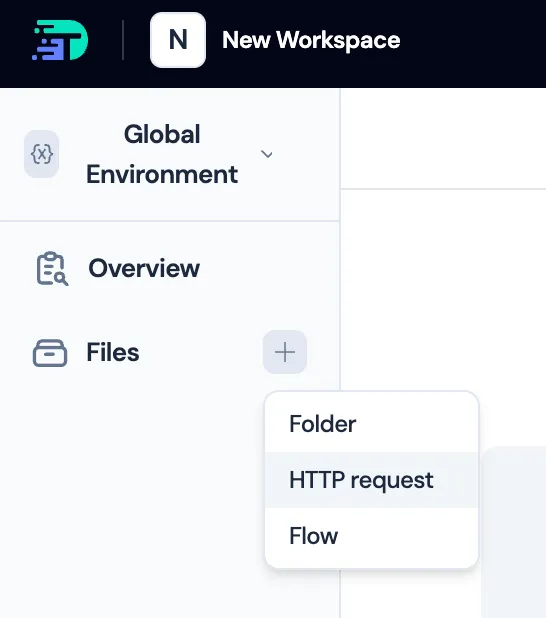
2. Create Your First Request
Let's create a simple API request:
- Click "New Request" in the sidebar
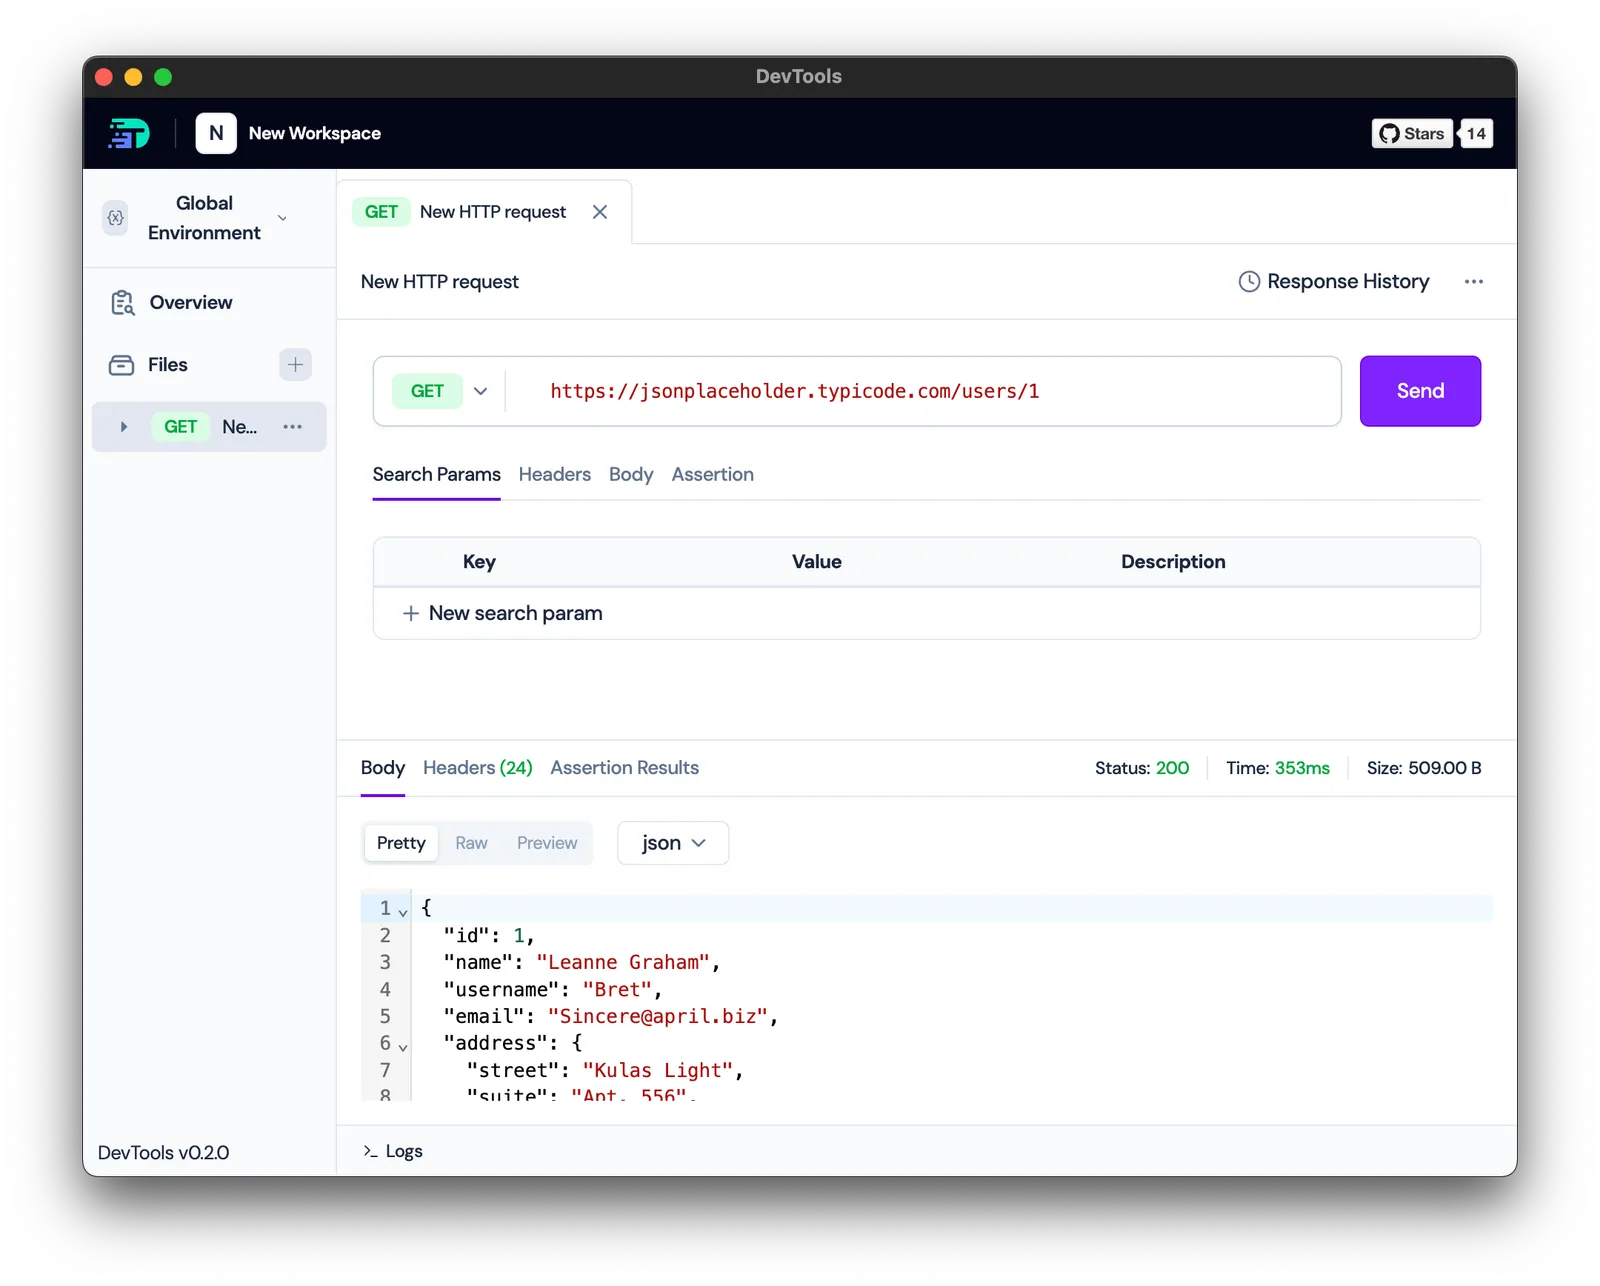
- Configure the request:
- Method: GET
- URL:
https://jsonplaceholder.typicode.com/users/1 - Name: GetUser
- Click Send
You should see a successful response with user data in JSON format.
3. Save and Organize
DevTools automatically saves your request. You can:
- Organize requests into folders by domain
- Add descriptions and tags
- Group related requests into collections
Quick Tour: Key Features
Request Editor
The request editor provides a familiar interface similar to Postman:
- URL Builder: Enter your endpoint with autocomplete support
- Headers Tab: Add custom headers (Authorization, Content-Type, etc.)
- Body Tab: Support for JSON, form data, raw text, and binary
- Query Params Tab: Build query strings visually
- Tests Tab: Add response assertions
Response Viewer
After sending a request:
- Body: View formatted JSON, XML, HTML, or raw text
- Headers: Inspect response headers
- Status: HTTP status code and response time
- Variables: See extracted variables (when using flows)
Next Steps
Now that you have DevTools installed and understand the basics:
- Import Real Requests: Learn how to import HAR files from browser recordings
- Create Flows: Build visual test workflows with the Flow Builder
- Manage Environments: Set up environments and variables for different configurations
- Automate Tests: Integrate with CI/CD using the CLI tool
Common First-Time Questions
Where is my data stored?
All data is stored locally on your machine:
- Studio: SQLite database in your user data directory
- CLI: In-memory database (ephemeral) or specified workspace file
No data is sent to external servers.
What formats can I import?
DevTools supports:
- HAR files (HTTP Archive)
- cURL commands
- OpenAPI/Swagger specs (coming soon)
See Importing HAR Files for details.
Does DevTools support authentication?
Yes, DevTools supports all standard authentication methods:
- Bearer tokens
- Basic Auth
- API keys (header or query param)
- OAuth 2.0 (via variable substitution)
- Custom authentication schemes
Can I use DevTools in my CI/CD pipeline?
Absolutely! The CLI tool is designed for CI/CD integration. See CI/CD Integration for examples with GitHub Actions, GitLab CI, Jenkins, and more.
Is DevTools free?
Yes, DevTools is open source under the Apache-2.0 license and free to use. The source code is available on GitHub (opens in a new tab).
Ready to import real API requests? Continue to Importing HAR Files.